4 Ways to Prepare for Incubator Hatching
Back to blog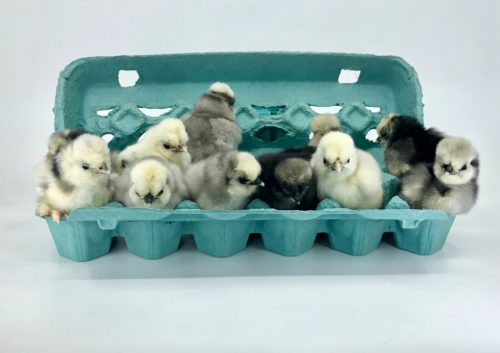
I know what it feels like to anxiously stalk tracking info so you'll know the very minute your hatching eggs arrive. The wait is awful! Quite a lot of prep and planning goes into successful incubator hatching. And because I've done this a few {cough} times before, I thought I'd share my four simple steps to successful incubator hatching.

Step 1: Read, read, read
If you've never tried incubator hatching before, your first step is to do some research. While it's more gratifying to just grab some eggs and stick 'em in an incubator, that rarely leads to a successful hatch. Remember, you're planning on developing living creatures that need special care. It's not quite the same as baking a cake that doesn't turn out. A great place to begin your research is on our free Guide to Incubation and Hatching.

Step 2: Go breed shopping!
Okay, this one probably goes without saying, since I know y'all are chicken-obsessed already. But I will, since this is a really fun step.
We have some tips for choosing just the right breed here: 3 ways to Choose Your Best Chicken Breed. And our famous Breed Selection Tool has been run a whopping 7 million times, too. Give it a whirl and see which breeds it spits out for you.

My personal favorite way to find breeds is to browse magazines or online. If you're up for chicken chatter, it can also be fun to get suggestions from your chicken-obsessed friends.
The really great thing about incubator hatching is that you can source breeds that aren't readily available as day olds. Some customer faves are Frizzled Easter Eggers, Show Quality Silkies, Mille Fleur and Calico Cochin Bantams, and the Chickens for Elitists collection.
Anyway, once your breed has been selected, it's time to decide how many eggs you want to set. That, of course, determines the incubator you will need. More on that below!
Step 3: Do your egg calculus
When incubator hatching shipped eggs, a good hatch rate is 50% or above, whereas an average hatch rate is around 33%. Even at commercial hatcheries, under the most conditions, a hatch rate of 85% is considered phenomenal. Take this all into account for your own incubator hatching adventure.
If buying eggs locally, you may be able to count on a higher hatch rate, but it depends upon the breeding conditions. Are there enough roosters to cover the hens? Could there be health issues or inbreeding, adversely affecting fertility? Think about these facdtors.
So, if you wanted to end up with a flock of 12 hens, for instance, you'd have to work backward to come up with the right number of eggs to set in the incubator.
Set 4-6 times the eggs as the number of females you want
Here's why:
- If you want 12 hens, you'd also have to count on hatching 12 roosters, (since they tend to hatch out 50/50), so you'll aim to hatch a total of 24 eggs.
- At a projected hatch rate of 33%, you'd need to triple those 24 eggs.
- 24 x 3 = 72 eggs to start with
That's a WHOPPING 6 times the eggs as the number of birds you want to end up with! Even at a more optimistic hatch rate of 50%, you'd need to double those 24 eggs, for 48 total to be set in the incubator. This works out to four times the eggs as the number of hens you want to end up with.
These might seem like crazy high multiples. I get it. But keep in mind that there are usually volume discounts on hatching eggs. And even when there aren't, shipping cost is defrayed the more you purchase.
Also consider that it's easy to sell or give away extra chicks, but if you hatch too few, it can be difficult to find another chick of the same age as a companion for your solo hatchling. And solo hatchlings don't do well.

Step 4: Get equipped for incubator hatching
Of course, you'll need an incubator, either borrowed, home-made or purchased. Options abound, ranging from fairly low-tech to fully automated with a digital display. Whichever you choose, just remember that you get what you pay for. You can't expect good results from a $50 incubator!
Here's the other equipment you may want on hand:
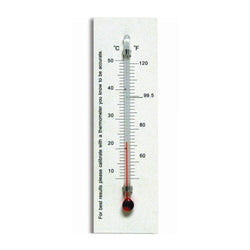
- Incubator/Brooder Thermometer
- Hygrometer to monitor humidity levels, if your incubator doesn't measure this
- Egg Candler to check development, if you're so inclined
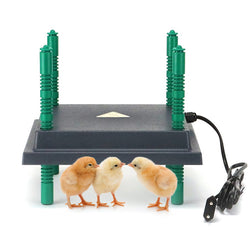
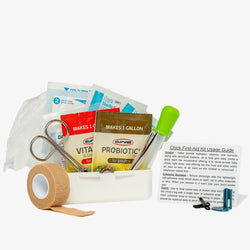
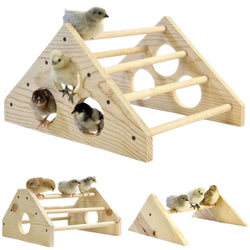
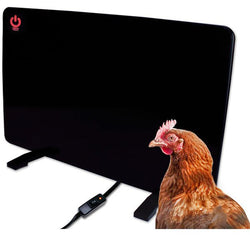
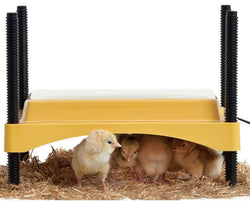
- Baby chick supplies, including the all-important safe heater
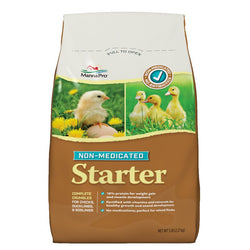
- Chick Starter Feed
Test your equipment first
Once you have your supplies, it is time to set everything up. You don't want surprises halfway through the hatch. Assemble and turn on your incubator and brooder heater to test well in advance. Be sure your incubator is in a temperature-stable location and not in front of windows or air returns.
That's it! You're ready to begin your hatching adventure. Remember, hatching may not always go perfectly, but with attention to detail and good equipment you have a very good chance at hatching some darling babies in about 21 days!


1 comment
Thank you for the targeted recommendations on getting ready for incubator hatching. Your recommendation on temperature manipulation and egg-turning strategies was once particularly useful for novices like me.