My chick's toes are all curled up--what's wrong with her?
Back to blog
Sometimes a chick will develop or hatch with a condition called curled toes or curly toes in one or both feet.
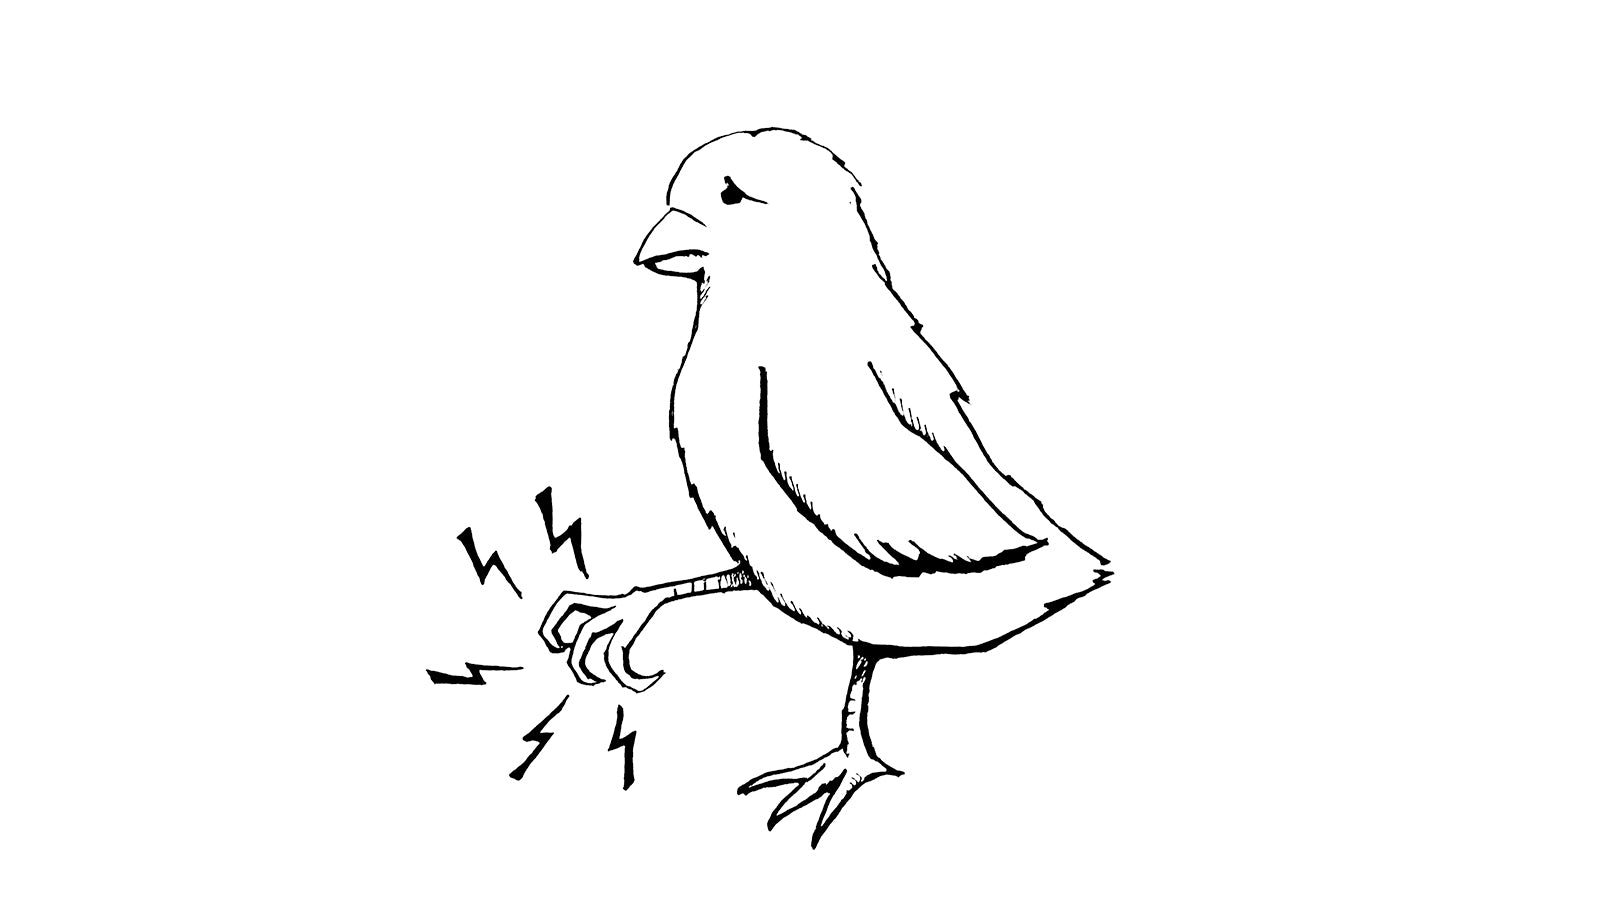
Illustration for My Pet Chicken by Ray Yang
It's possible that she has injured a foot--sometimes this can occur while she's in the egg as she's trying to position herself correctly for hatching. Sometimes the injury might occur after she's hatched. It can also be that she's suffering from a riboflavin deficiency, either from a deficient diet in the hen that laid her egg, or because she is not consuming enough herself. Another possibility, especially with at-home artificial incubation, is that the incubation temperature is off. This is more likely in a home incubator simply because they tend to be less high-tech and less accurate than the advanced incubators used by large hatcheries.
Whatever the cause of your chick's curly toes may be though, it will look as if they are curled into a fist. Because her toes aren't spread out like normal, she can have trouble walking, poor thing. She may be trying to walk on her knuckles, or on the side of her feet. But the good news is that curly toes is a condition that is extremely easy to take care of at home if you do it right away. This is because directly after a chick hatches, her bones aren't entirely hardened. So you can more or less create a little splint for her curly toes, a little boot, that will hold her toes in the correct position until they stay that way.
You can use a number of things to create the curly toe boot, some of which you probably have laying around the house, anyway. My favorite is just clear medical tape, but band-aids are often used, or even another sort of tape, so long as it can be removed easily without hurting your chick. This is why band-aids usually work quite well, because the adhesive is meant to be removed from skin. Duct tape--not so much!
You can apply the curly toe chick boot by yourself, but it will probably be a lot easier with help. You'll need to gently hold the chick steady, and straighten her toes into the correct position over the sticky band-aid or piece of tape. Then place or fold another piece of tape on top.
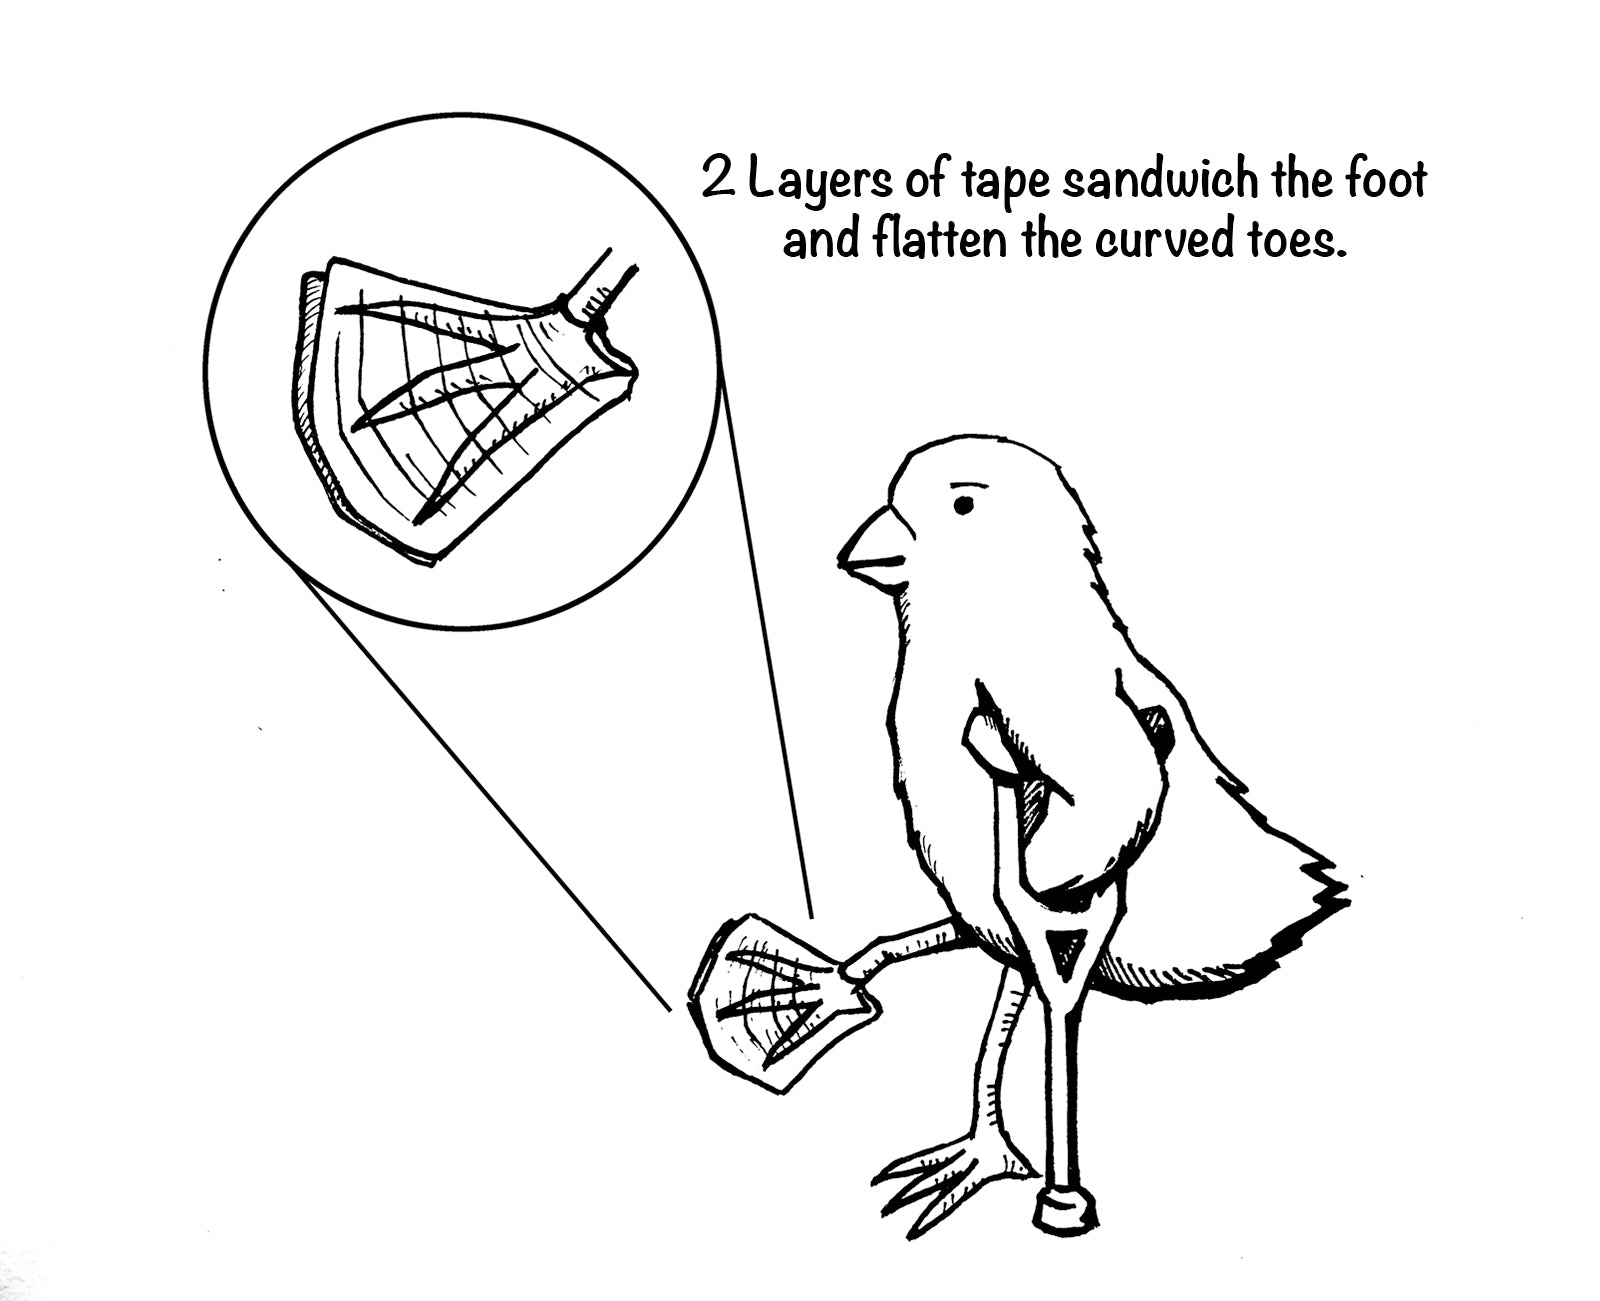
Illustration for My Pet Chicken by Ray Yang
The very cool thing is that your chick boot really doesn't have to be perfect. You're not looking for exact angles, where if you're off by a degree it's then all ruined. Nope! You have plenty of leeway. Just make sure to get the toes into a reasonably normal looking position, and tape into place. You can carefully trim any excess tape or band-aid from around the foot, Again, CAREFULLY! You don't want to snip your little chick's toes! This is, incidentally, why I like the clear tape. You can see exactly where those toes are. This is also why having a helper is a good idea. Your helper can gently hold the chick, while you keep the chick's foot from moving while trimming the boot.
But, hey. You don't REALLY even have to trim the curly toe boot. Trimming just helps to lighten the weight and awkwardness of your little boot/cast so your chick can acclimate to the new boot more quickly. But even though she may at first not know what to do with the thing on her foot, she'll soon forget about it, and will probably be running around like normal in just a few hours. She more or less just needs a little time to figure out how to use crutches. Once she learns, she can get around no problem! And if she gets the adhesive wet and the curly toe chick boot falls off--chicks do like to tread in their water dishes sometimes--that's okay. Just replace it as soon as you notice.
You'll want to leave the boot on for two days or so. Then remove it. If the toes remain in a normal position, your work here is done! If they curl or start to ball into a fist again, but a boot back on for another day. It really shouldn't take more than two or three days in total, and in a few weeks, you'll probably never be able to tell she had a curly toe problem!
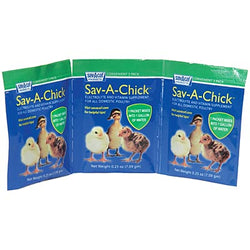
If you have one chick with curly toes, it's not likely to be something systemic. It is something that just happens from time to time, sometimes without a cause that can be easily discovered. Some chicks don't process their nutrition as efficiently as others for genetic reasons. But if many of your chicks are experiencing problems with curly toes, you'll want to check to make sure the conditions your providing them are correct. So review these management issues: If your chicks hatch okay but develop curled toes shortly thereafter, check the date of your feed (old feed will be less nutritious), and this is a situation where offering a vitamin (specifically a riboflavin ) supplement would be a good idea. A slick surface like newspaper can cause problems after hatching, especially if your brooder is breezy or too cool, and the chicks have a lot of competition for warmth paired with not having sufficient purchase on a slick surface. (See related questions below for how to maintain the correct conditions in your brooder). And if you're hatching at home and many of your chicks hatch out with this problem, consider investing in a quality incubator, and/or check the accuracy of your thermometer and hygrometer and calibrate them (see instructions on how to do this in the related questions below). If your incubator doesn't have circulated air, consider purchasing an add-on fan kit. This can help maintain an accurate temperature throughout your incubator, since still air incubators are prone to hot spots.

Illustration for My Pet Chicken by Ray Yang
It's possible that she has injured a foot--sometimes this can occur while she's in the egg as she's trying to position herself correctly for hatching. Sometimes the injury might occur after she's hatched. It can also be that she's suffering from a riboflavin deficiency, either from a deficient diet in the hen that laid her egg, or because she is not consuming enough herself. Another possibility, especially with at-home artificial incubation, is that the incubation temperature is off. This is more likely in a home incubator simply because they tend to be less high-tech and less accurate than the advanced incubators used by large hatcheries.
Whatever the cause of your chick's curly toes may be though, it will look as if they are curled into a fist. Because her toes aren't spread out like normal, she can have trouble walking, poor thing. She may be trying to walk on her knuckles, or on the side of her feet. But the good news is that curly toes is a condition that is extremely easy to take care of at home if you do it right away. This is because directly after a chick hatches, her bones aren't entirely hardened. So you can more or less create a little splint for her curly toes, a little boot, that will hold her toes in the correct position until they stay that way.
You can use a number of things to create the curly toe boot, some of which you probably have laying around the house, anyway. My favorite is just clear medical tape, but band-aids are often used, or even another sort of tape, so long as it can be removed easily without hurting your chick. This is why band-aids usually work quite well, because the adhesive is meant to be removed from skin. Duct tape--not so much!
You can apply the curly toe chick boot by yourself, but it will probably be a lot easier with help. You'll need to gently hold the chick steady, and straighten her toes into the correct position over the sticky band-aid or piece of tape. Then place or fold another piece of tape on top.

Illustration for My Pet Chicken by Ray Yang
The very cool thing is that your chick boot really doesn't have to be perfect. You're not looking for exact angles, where if you're off by a degree it's then all ruined. Nope! You have plenty of leeway. Just make sure to get the toes into a reasonably normal looking position, and tape into place. You can carefully trim any excess tape or band-aid from around the foot, Again, CAREFULLY! You don't want to snip your little chick's toes! This is, incidentally, why I like the clear tape. You can see exactly where those toes are. This is also why having a helper is a good idea. Your helper can gently hold the chick, while you keep the chick's foot from moving while trimming the boot.
But, hey. You don't REALLY even have to trim the curly toe boot. Trimming just helps to lighten the weight and awkwardness of your little boot/cast so your chick can acclimate to the new boot more quickly. But even though she may at first not know what to do with the thing on her foot, she'll soon forget about it, and will probably be running around like normal in just a few hours. She more or less just needs a little time to figure out how to use crutches. Once she learns, she can get around no problem! And if she gets the adhesive wet and the curly toe chick boot falls off--chicks do like to tread in their water dishes sometimes--that's okay. Just replace it as soon as you notice.
You'll want to leave the boot on for two days or so. Then remove it. If the toes remain in a normal position, your work here is done! If they curl or start to ball into a fist again, but a boot back on for another day. It really shouldn't take more than two or three days in total, and in a few weeks, you'll probably never be able to tell she had a curly toe problem!
If you have one chick with curly toes, it's not likely to be something systemic. It is something that just happens from time to time, sometimes without a cause that can be easily discovered. Some chicks don't process their nutrition as efficiently as others for genetic reasons. But if many of your chicks are experiencing problems with curly toes, you'll want to check to make sure the conditions your providing them are correct. So review these management issues: If your chicks hatch okay but develop curled toes shortly thereafter, check the date of your feed (old feed will be less nutritious), and this is a situation where offering a vitamin (specifically a riboflavin ) supplement would be a good idea. A slick surface like newspaper can cause problems after hatching, especially if your brooder is breezy or too cool, and the chicks have a lot of competition for warmth paired with not having sufficient purchase on a slick surface. (See related questions below for how to maintain the correct conditions in your brooder). And if you're hatching at home and many of your chicks hatch out with this problem, consider investing in a quality incubator, and/or check the accuracy of your thermometer and hygrometer and calibrate them (see instructions on how to do this in the related questions below). If your incubator doesn't have circulated air, consider purchasing an add-on fan kit. This can help maintain an accurate temperature throughout your incubator, since still air incubators are prone to hot spots.
